Windows 7 Background Slideshows
In computing, nothing is more personal than your desktop background. In Windows 7, you can have a slideshow as your background in a few easy steps.
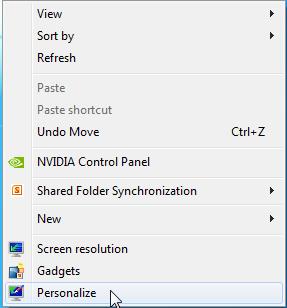
1. Right-click an open space on your desktop, and select “Personalize”.
2. The Personalization window will open. On the bottom, click on ‘Desktop Background”.

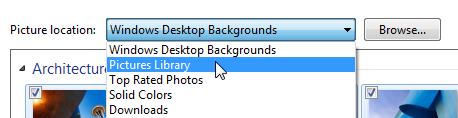
3. At the top of the window you will see “Picture Location”. Click the gray box next to it and select “Pictures Library”.
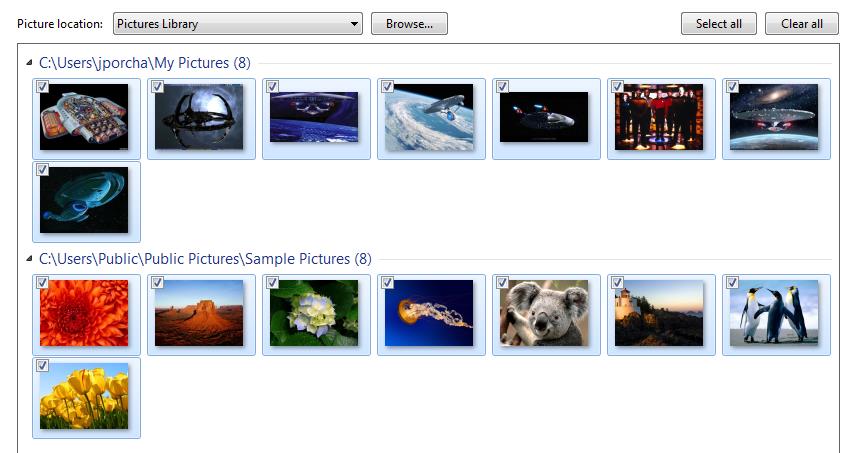
Now, you will see all the pictures from your Pictures Library show up with all of them with a check mark in the top left corner. To simply remove some pictures from the slideshow, click on the check mark to remove it.
4. At the bottom of the windows you can change the interval between when the picture on the background changes. Just simply click on the gray bar under the “Change picture every” field and change it to your desired time. Also, feel free to shuffle the pictures to add a little mystery to what picture will appear next.

5. Finally, click Save Changes and you’re all done!
Want more control over what pictures are seen?
In Step 3, just click on “Browse” and you can choose what folders you want to show!